If you have an idea of the content to present in your LMS, your next thought turns to how it looks as just plain text – and how can you dress that up?
Most educators did not learn this type of Instructional Design in our undergraduate programs; so here is how to make perfect HTML pages and how to compile them into a great looking module.
Set the Table
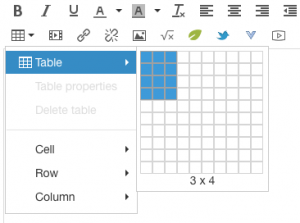 Start with a table. Your text editor may have an interface such as this or you may need to use an HTML Table Generator, like this one found at W3schools.com
I prefer a 3×3 or 3×4. Of course it doesn’t look perfect yet, does it? Remember the cells of the table will expand with your content. However, the reason we use the table is that a table keeps items in order and in intended relation to each other.
Tables also allow us to merge some cells together, giving a less grid-like impression.
Consider making 2 or 3 table variations per course with the content inside the tables. These 2-3 layouts can comprise a complete module design. These tables allow different screen resolutions and different devices to appreciate the same/very similar user experience of your content.
Attributes of the Table
To establish a recognizable presence/destination you first want to establish a color palette. You may have predetermined colors or your favorite Go-Tos. IF so that is great! If not consult my Color Me Happy blog post and then check out my Color Me Happy Pinterest board.
[Tweet “Do you want to know how to make your LMS pages look nice? Here is how. #edchat”]
Next, settle on graphics which are similar yet provide small variation. Here are a variety of images I recently used in student technology course:
 |
 |
 |
 |
 |
Even a close-up cropped image of the same image {see image 3 and 4 above} can create variety of images for a course. Identifying the images for the course may be done first to gather the color palette as well.
Finally, consider elements aside from color and images.
Font consistency is important. If your text editor does not offer options consult either W3schools.com or create graphics in Canva, PicMonkey, or Google Draw with the appropriate font/color with a transparent background and insert as an image.
Formatting in the form of Headings, text effects (bold, italicized, underlined), and color are powerful and should be inserted intentionally, sparingly, and have tremendous power to guide the reader through your ideas.
Other elements such as horizontal lines can separate the changing text/content from the “template” you are creating. I like to use a horizontal line “<hr>” in HTML.
Consider using icons or emojis sparingly within your text as another feature to enhance understanding. Consider emojipedia and unicode.
You can check out these attributes in HTML here at W3schools.com too!
Enjoy the Table
Let’s put these items onto your table.
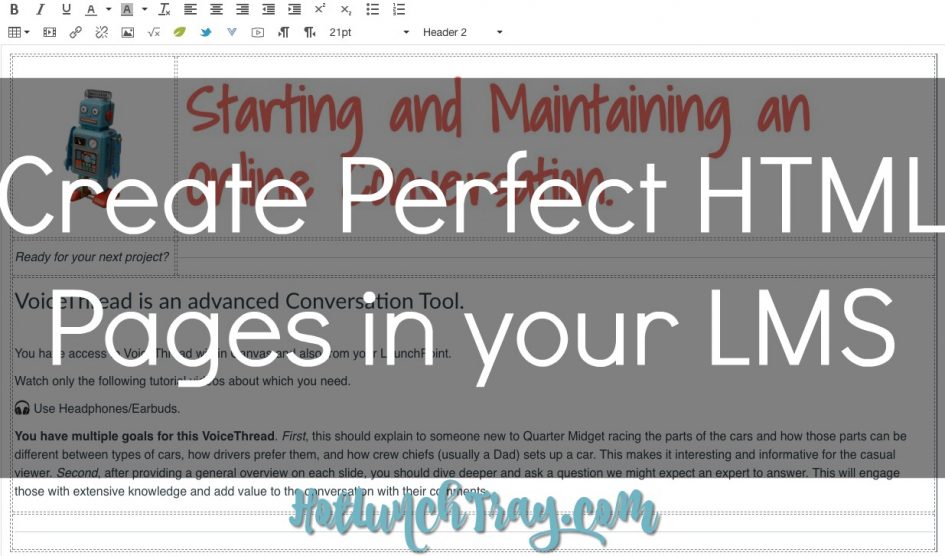
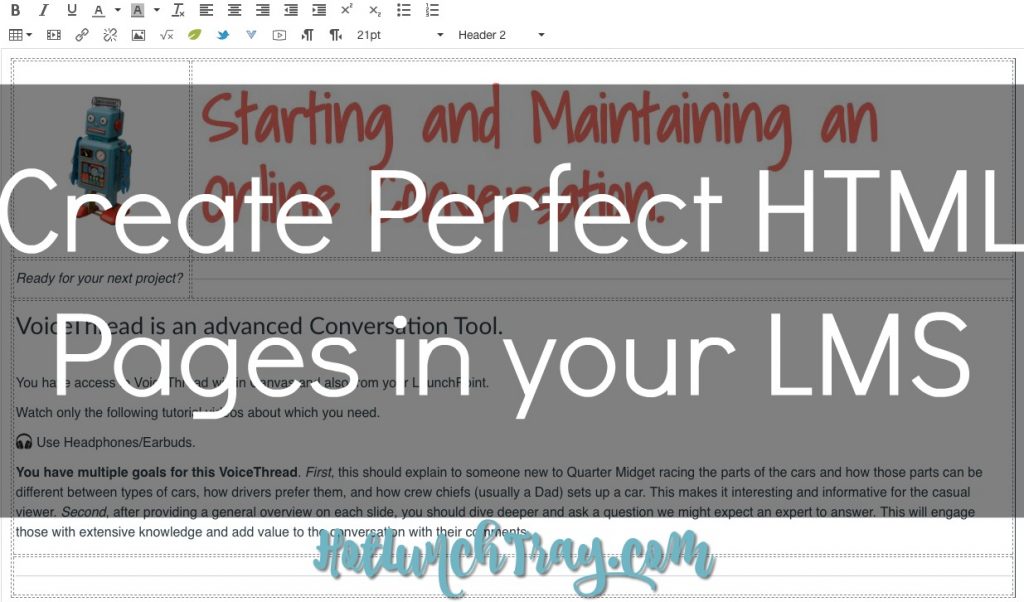
Here is the look while editing:

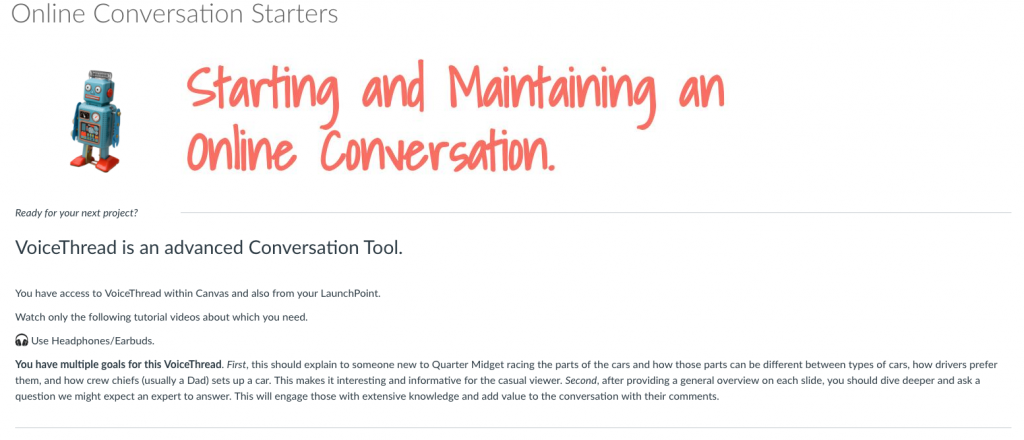
Here is the finished look:
Can you detect how I varied this table in these other tables?
That simple table, modified and reused throughout the module create a smooth, enjoyable, and branded learning experience.
Table Crumbs
Not all platforms have easy text editors. If you are a novice working in HTML remember to always keep a copy of the original page within a note app. (MS Word has hidden formatting so skip it).
Also working within HTML is overwhelming at first. Utilize the keyboard shortcut Function/Command F to find certain elements. And when changing between WYSIWYG {What You See Is What You Get} you can add and phrase/string of uncommon letter combination, such as XYZ. When you change your view to HTML you should be able to easily find that string in the HTML alphabet soup:
<tr>
<td colspan=”2″><em>XYZ</em></td>
</tr>

2 Pingbacks