Some of the classrooms in America look like they could be launching a rocket any minute. Some look the same as when my great-grandmother taught in a one-room school-house, save the clothing fashions. But we are not talking about those two extremes, but the multitude of classrooms in the middle. The vast majority of American classrooms have some technology hardware, but are not a 1:1 environment.
During an education undergraduate degree you may be graded on your bulletin board design, but are education professors teaching how to arrange, and re-arrange (and re-re-arrange), a classroom for technology use by the students? Are they teaching how to intentionally create spaces of student collaboration and production? Hint: remember those people who stood at one end of the room, who were the only ones to run the projection on the screen up there? SMH.
Current teachers may need to educate new teachers on these ideas as matters of learning space design. To be honest, current classroom teachers need to study this for ourselves too.
Physical Layout
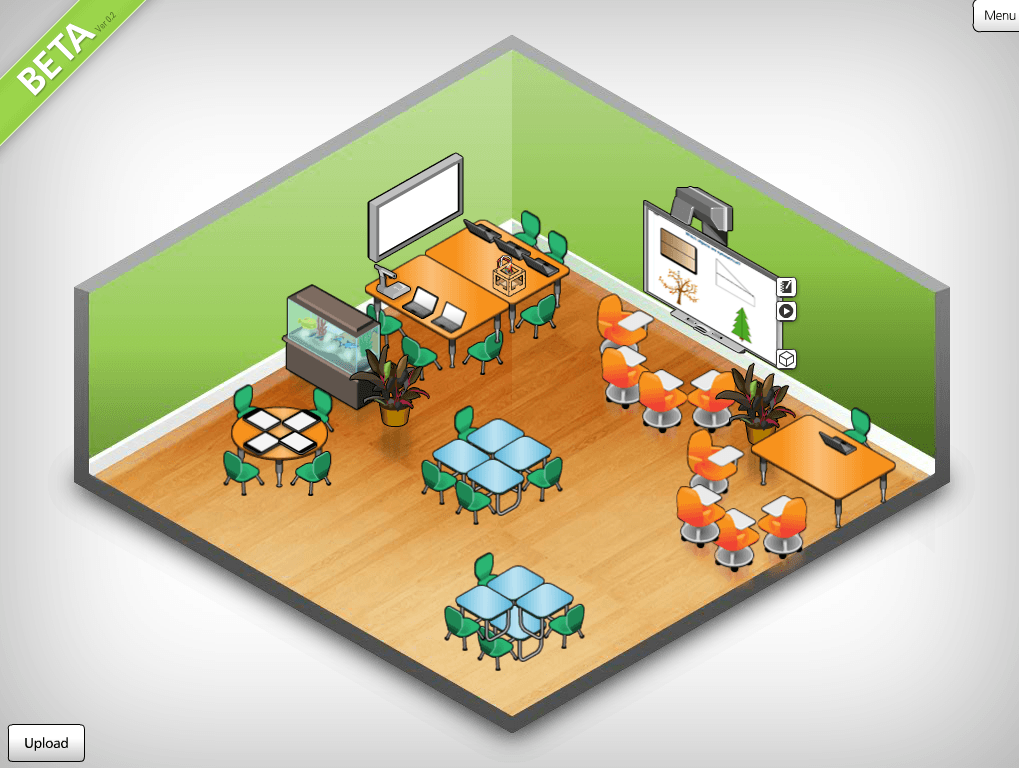
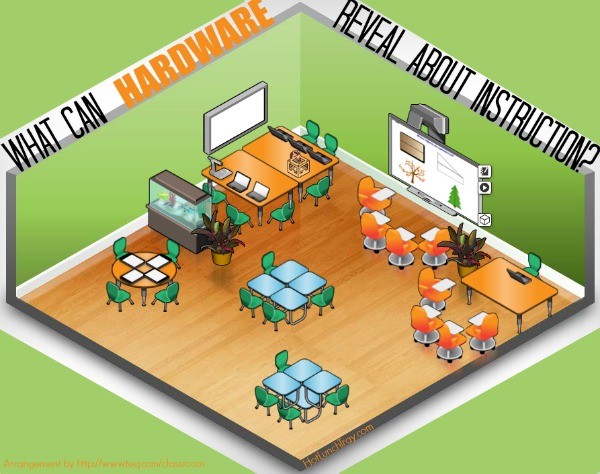
Arrangement of the furniture, different furniture types/configurations, and the intention of the spaces are important in the message they send about the intent of the teacher and the class. Create your own classroom design or page through some examples like my current ideal classroom pictured here. You can learn about how to create your own classroom design via Teq’s Vimeo.
All areas in the classroom as focused on collaboration. In my ideal classroom, one collaboration is a traditional teacher-centered area where the teacher pulls a small number of students together to discuss or remediate/accelerate a select group. Note that this group can expand or contract in conjunction with the chairs needed at the adjacent Interactive White Board (IWB) area. The IWB area is for prepared content to be delivered to students, reviewed by students, or requires student interaction. The chairs can move out of the IWB area if the students are standing and active.
One large explore/create are includes a large display at the end of one large table grouping. Laptops can project to the large display to further collaboration.a document camera and 3D printer are possible ways to utilize this area as well. A smaller collaborative area has tablet access and a more intentional area for face-to-face collaboration.
Finally the traditional desks, arranged in what I have always called “Kagan Style” for cooperative groups. I do not envision devices at these desks, but would be open to how students re-imagine that of course.
Before you think you should already be thinking like this, let us walk through some points to consider together…
Hardware Access
If you are a 1:1 things are simple in comparison to shared devices. Let us focus on a shared-device environment.
The term “device” includes laptops, chromebook, tablets, iPods typically. Where the term “computer” would cover desktops and possibly extend to laptops.
Matchy-Matchy
Good for your uber-organized neighbor-teacher, or maybe you are the uber-organized teacher, who can breathe a sigh of relief if all your devices match. Be advised, as your devices reach end-of-life you may need to consider yourself Hodge-Podge.
Hodge-Podge
This is the more common classroom make-up outside of a 1:1.
If you have multiple student hardware devices try to identify each type of devices main use in your classroom: Are tablets mainly for consuming? How do you get/use apps? Are laptops being used to create or consume? If you can get only one large display how would you organize so that students have as much, if not more, access as the teacher? Can you get rid of any desktop computers (they have a huge footprint & do not move well)? What spaces will you make for non-screen learning activities? You may want an Interactive White Board, but what if you could use the same amount of money on student devices – would you still want one?
Arrange your Hardware in the Physical Layout
Some items come as part of the room. Often IWBs and/or large displays are already on the wall when you move into a classroom or a school/district has preferences on placement. I encourage you to move past that quickly as you likely have little control over that.
However, once you look at the fixed pieces of hardware, you can often work around these objects. When you take into account the room size, furniture you have/can trade for, devices/computers you have and their uses you are ready to arrange for optimal learning. Learning where the student learning is the top consideration and you create multiple spaces for different learning opportunities. Embrace that students will not be in the same place every class, at the start of class, and will move around during class. Confront yourself with the task of inviting students to different places in the room for different purposes.
Do not be afraid to change it up. Opportunities to either frequently change the hardware and/or layout throughout the year or as you want to overcome an issue in your classroom. The largest stakeholder, the student, would have very relevant input here as well.


2018-03-04 at 5:47 am
Great Info..! I read your whole article and I got some informative information about classroom hardware. I like your hardware using tips in a classroom. The classroom is very upgraded and the students are first to know for a smart device. So really you have shared an essential information here. I am trying to follow your technique.
Thanks for sharing your great advice.